|
|
|
|
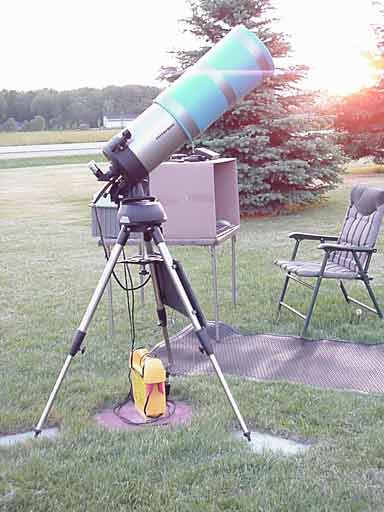
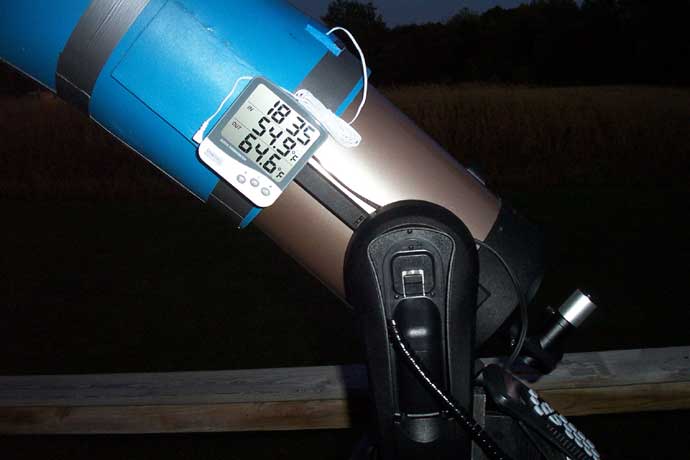
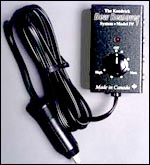
| Scope with homemade dewshield | Clock/Thermometer mounted on scope | Kendrick Controller |
| Equipment | Site Info | Links | Planet Finder | WB9DLC Ham Radio | Astronomy Home |
| Dew Control | N8i Images | ****** | ************* | Light Polution Filter | N8i Alignment |
|
|
|
|
| Scope with homemade dewshield | Clock/Thermometer mounted on scope | Kendrick Controller |
Dew Control
![]()
The first few times that I used my scope (Late December 2002), each session was ultimately ended by frost forming on the corrector. I ended up making a dew shield using material purchased at Wal-Mart. Go to the camping supplies and buy a camping mat. There is plenty of material for 2 dew shields. I used a combination of a hot glue gun and duct tape. I flared mine just a little so that the end toward the sky was about 1/2" bigger around than the end that slides over the scope. Later I picked up some adhesive-back black felt (also at Wal-Mart) and lined the inside of the shield to minimize light reflections (reason enough to use a dew shield). This solution helped and extended my winter observing by 1-2 hours but ultimately frost formed.
Next step was to add an Orion dew zapper strap. This heater plugs into a 12v source and consumes power at a rate of 20 watts. This prevented dew from ever forming again. It did present 2 issues, however. Is the scope getting too warm? This can cause air currents in the scope that hurts the views. It also draws almost 2 amps continuously from my battery. With a 19 amp/hour battery that also powers the scope (a scope that doesn't like low voltage) it doesn't take long to drain the battery. I would guess that 4 hours is max.
Next step was to add a Kendrick controller. This means cutting the cigarette lighter connector off of the dew strap and installing a RCA type connector to match the outputs on the controller. Not a tough job. These controllers control the on-off time of the dew strap - a very efficient way to limit the amount of heat that the strap is allowed to produce. In cold weather I normally run the controller set near the 'Medium" setting. With temps above 55º F I find setting the controller on the lowest setting works great. This greatly increased battery life and no frost or dew problems. You can build your own controller if you are inclined and save about $50 - I was too lazy.
I couldn't let it go..... There is another company that makes a more sophisticated (Translation: more expensive) controller called a Dew Buster ( http://www.dewbuster.com ) This controller utilizes 2 temperature sensors - 1 for outside air temp and 1 mounted on the scope to monitor the temp of the corrector. You set the controller to maintain a differential between them (say 5 º F). The Dew Buster uses only enough power to maintain the difference. PERFECT! Cost - OUCH!
So now we get to my cheapo solution. I picked up an indoor/outdoor digital thermometer. I got the "enlarged print" version that also contains a handy 24 hour clock. I cut a small flap in my dew shield right over the corrector. After I mount the shield I open the flap, set the temp probe on the corrector housing and close the flap. A small velcro strap keeps it closed tightly. I mounted the thermometer on the dew shield with velcro to prevent any cord-wrap issues. It is now easy to keep an eye on the temperature differential. So far, I have found that setting the Kendrick Controller on 'Medium' has maintained about 5 º F difference in the coldest weather and, in warmer weather, the lowest setting maintains a 5º F differential easily.